More advanced techniques
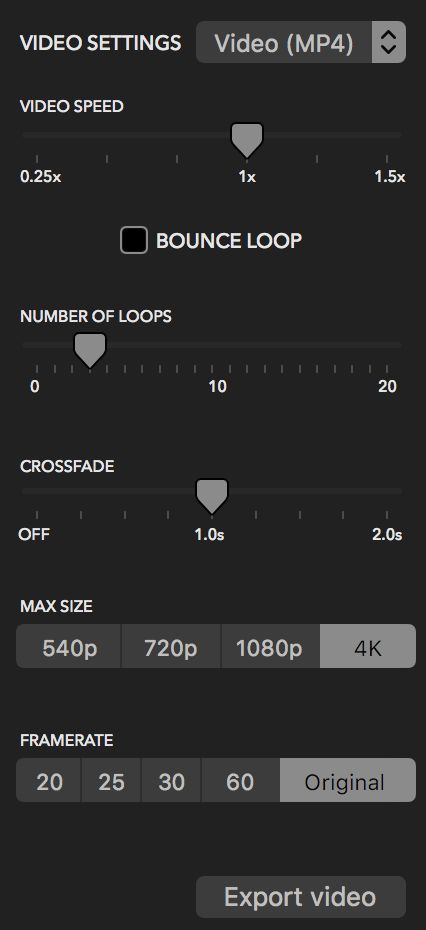
One of the most critical components of a cinemagraph is creating a video that loops naturally and seamlessly. There are two loop types: Crossfade (default) and Bounce (plays and reverses constantly).
The type of loop you want will depend on the cinemagraph you are creating. The default crossfade transition will look good when you want the end and start of a clip to blend together, and works when the start and end of the clip are “close enough” that the blend looks natural and unnoticeable. You can also control the crossfade length for more control over the effect.
The “bounce” loop will look natural for motion that might move back and forth – such as a person tilting their head to the right (which will bounce back to the natural starting position).
You will want to experiment with different loop types and settings along with the start/end frames to get the most natural looking result.
Cinemagraphs look incredible when embedded on websites. The nature of the two output formats (MP4 and GIF) can both be embedded in a way that makes them play automatically and looping infinitely. You can also create cinemagraphs with a minimal number of frames to keep filesizes to a minimum.
We recommend exporting as MP4 at a reduced resolution and a 25fps framerate. You may wish to further reduce the quality of your video using a free tool such a Handbrake, or use one of the many online conversion and compression tools to get a reduced filesize.
Embedding is as simple as using an HTML5 video tag. You may wish to optionally include webm or ogv formats by running your creation through an online webm/ogv converter (many free services exist).
<video autoplay loop muted playsinline>
  <source src="/video.mp4" type="video/mp4">
</video>
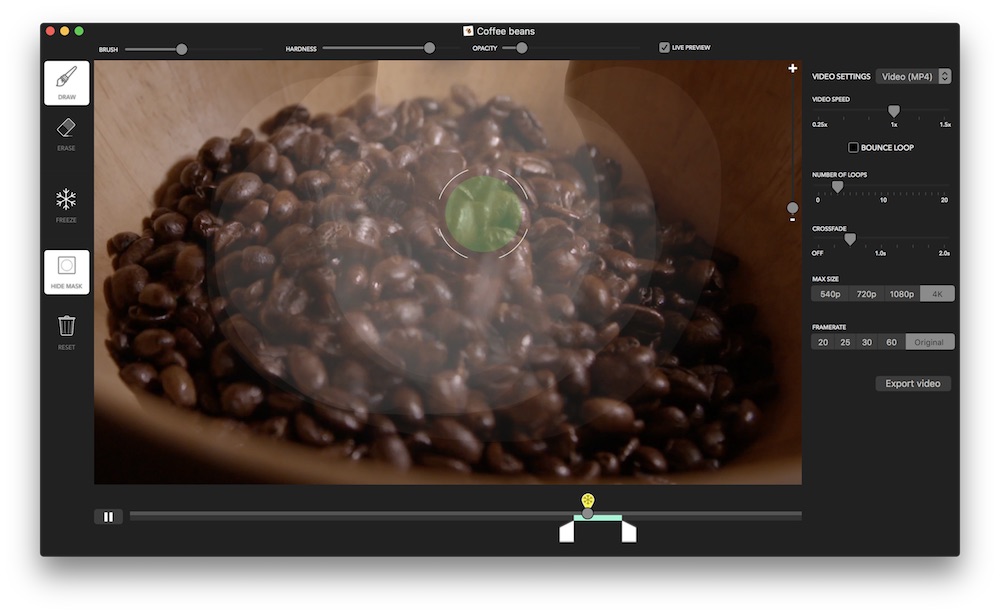
Sometimes you may have areas of a cinemagraph that needs to be blended more carefully, as the sharp edges of the drawn area are too noticeable.
You can do this by modifying the hardness and opacity settings of your brush. The hardness setting refers to the edge of your brush. It will create an edge which blends more seamlessly when using a lower hardness level.
When adjusting the opacity of your brush you will allow a portion of the static frame to remain while merging it with the video. If you run a lower opacity brush over an obvious/hard edge it will create a more natural blend.
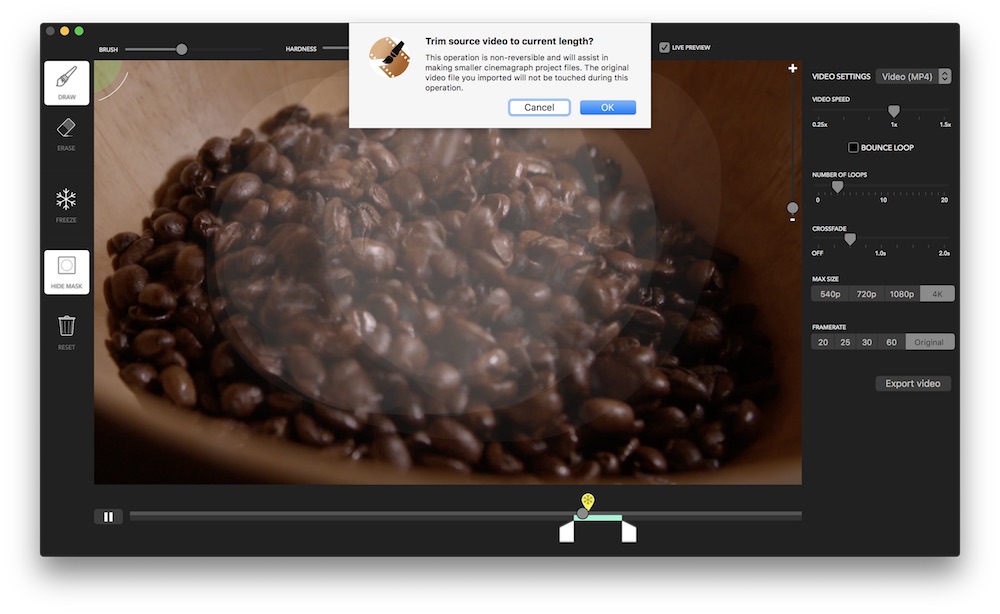 If the video you imported is much longer than required (e.g you have adjusted the start/end points of your cinemagraph) then you can trim the source video to suit.
This can be useful if you have a large Cinemask Pro project and want to reduce the size it uses on disk. It will not touch the video file you originally imported, only the copy used in your cinemagraph project.
Go to Edit > Trim source video to perform this operation. You cannot undo this process.